SUDBROOK MOOR GOLF CLUB AND GOLF RANGE
CREATING GOLFERS and BETTER GOLF

CREATING GOLFERS and BETTER GOLF
Head Greenkeeper - James Sergeant ( Jimbo )
Sudbrook Moor is proud to have Jimbo as our Head Greenkeeper.
Jimbo is dedicated to presenting the Golf Course
to Members and Visitors in the best possible condition all year round.
Sudbrook Moor's mission to provide Affordable, Quality Golf in a Friendly Environment
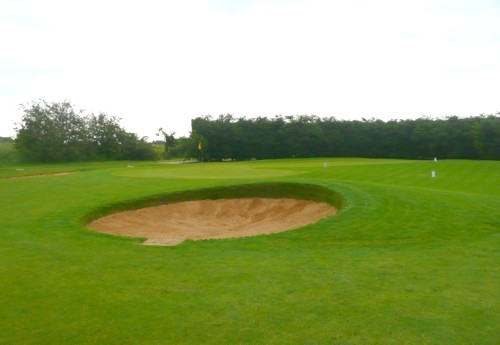
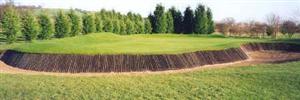
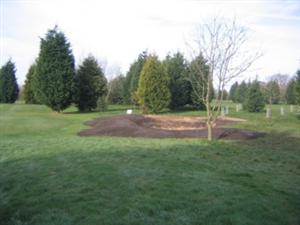
3rd and 12th green enhanced with new bunker ( before turfing )
Dry weather during May
3rd completed
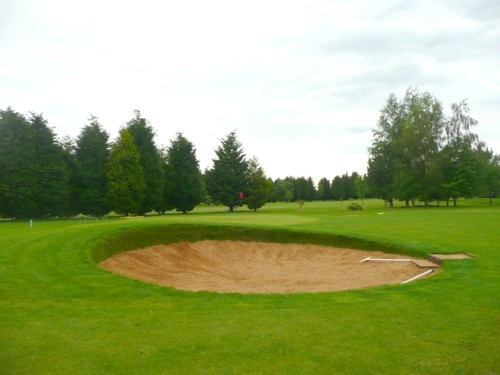
12th completed
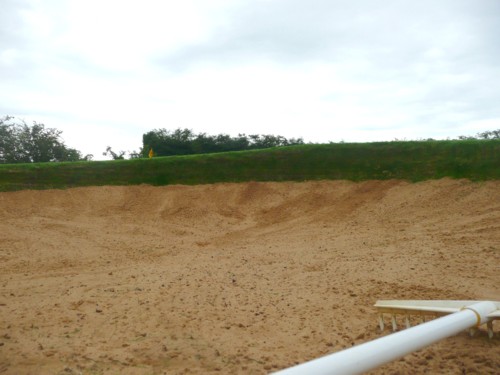
bunker's eye view
Work starts at 16th
Raising and extending back of 16th green
Seeding new 16th
Seeding new 16th
16th view back to the tee
Tree work starts
Many Leylandi removed to make room for oak, ask, cherry, birch to develop
Levelling ground ofter roots removed
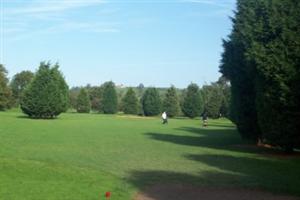
View back to 8th tee
18th green opened up
To be completed:
1st tee extension
16th tee extension
1st tee extension
16th tee extension
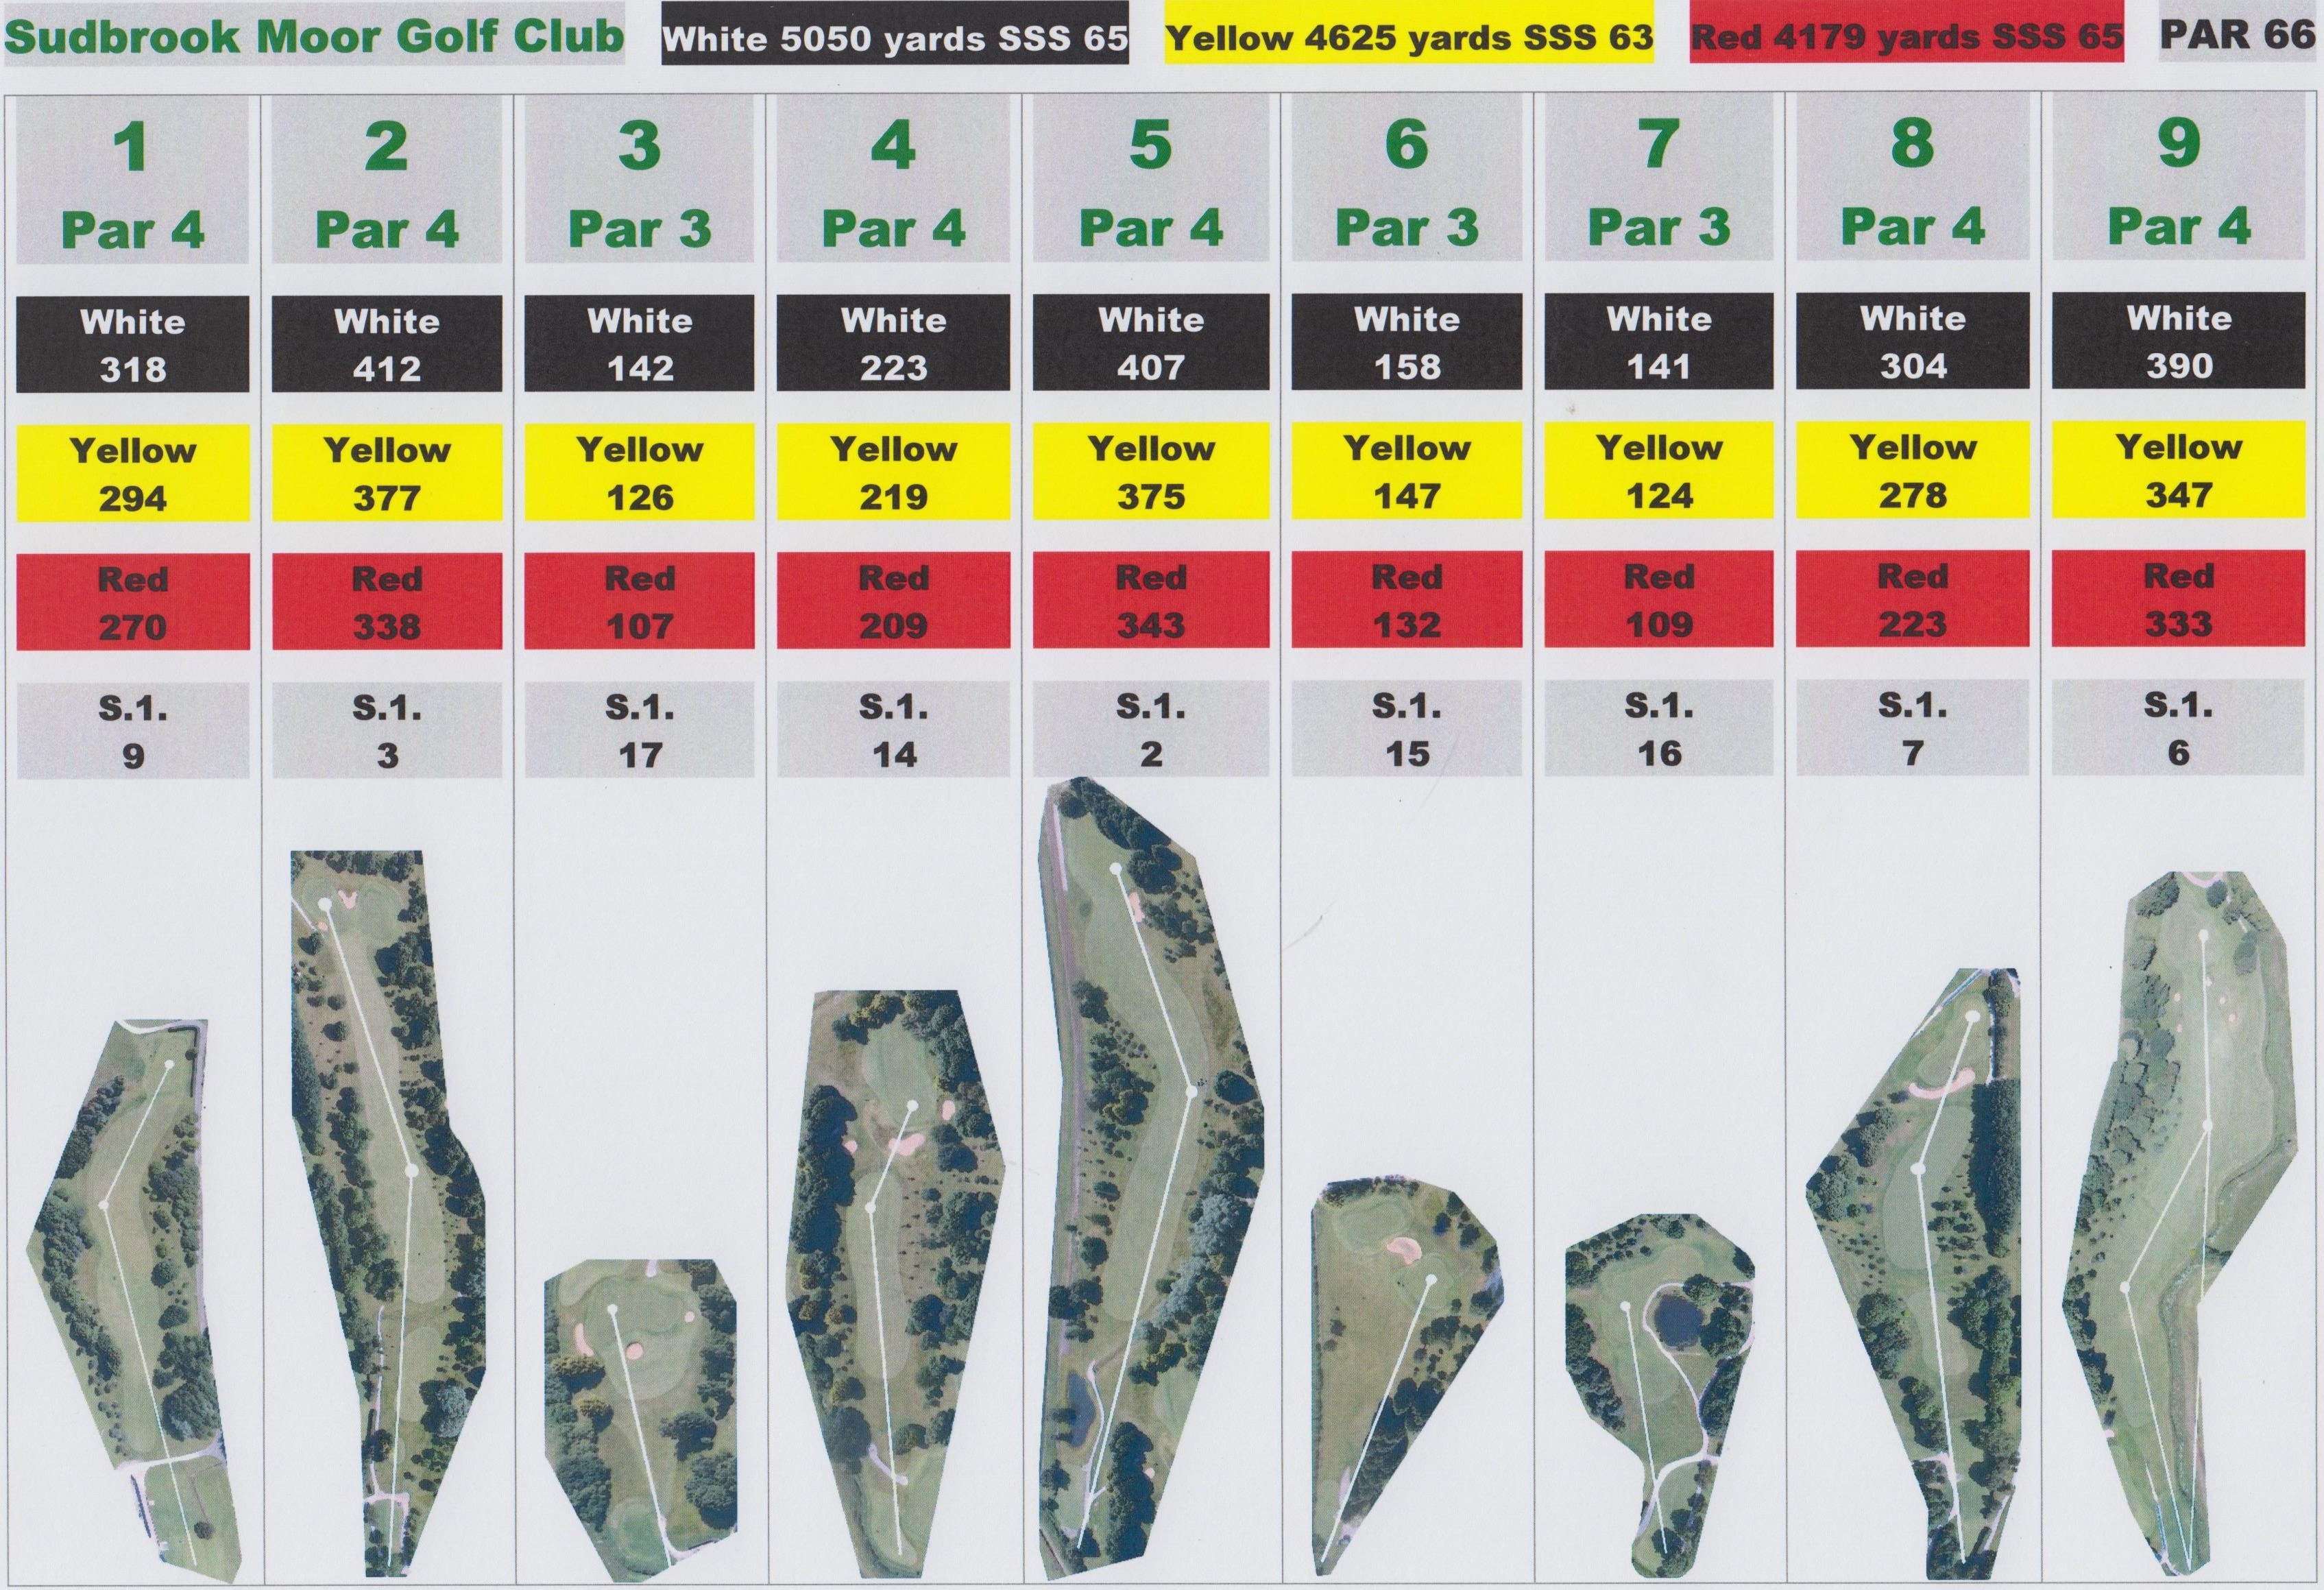
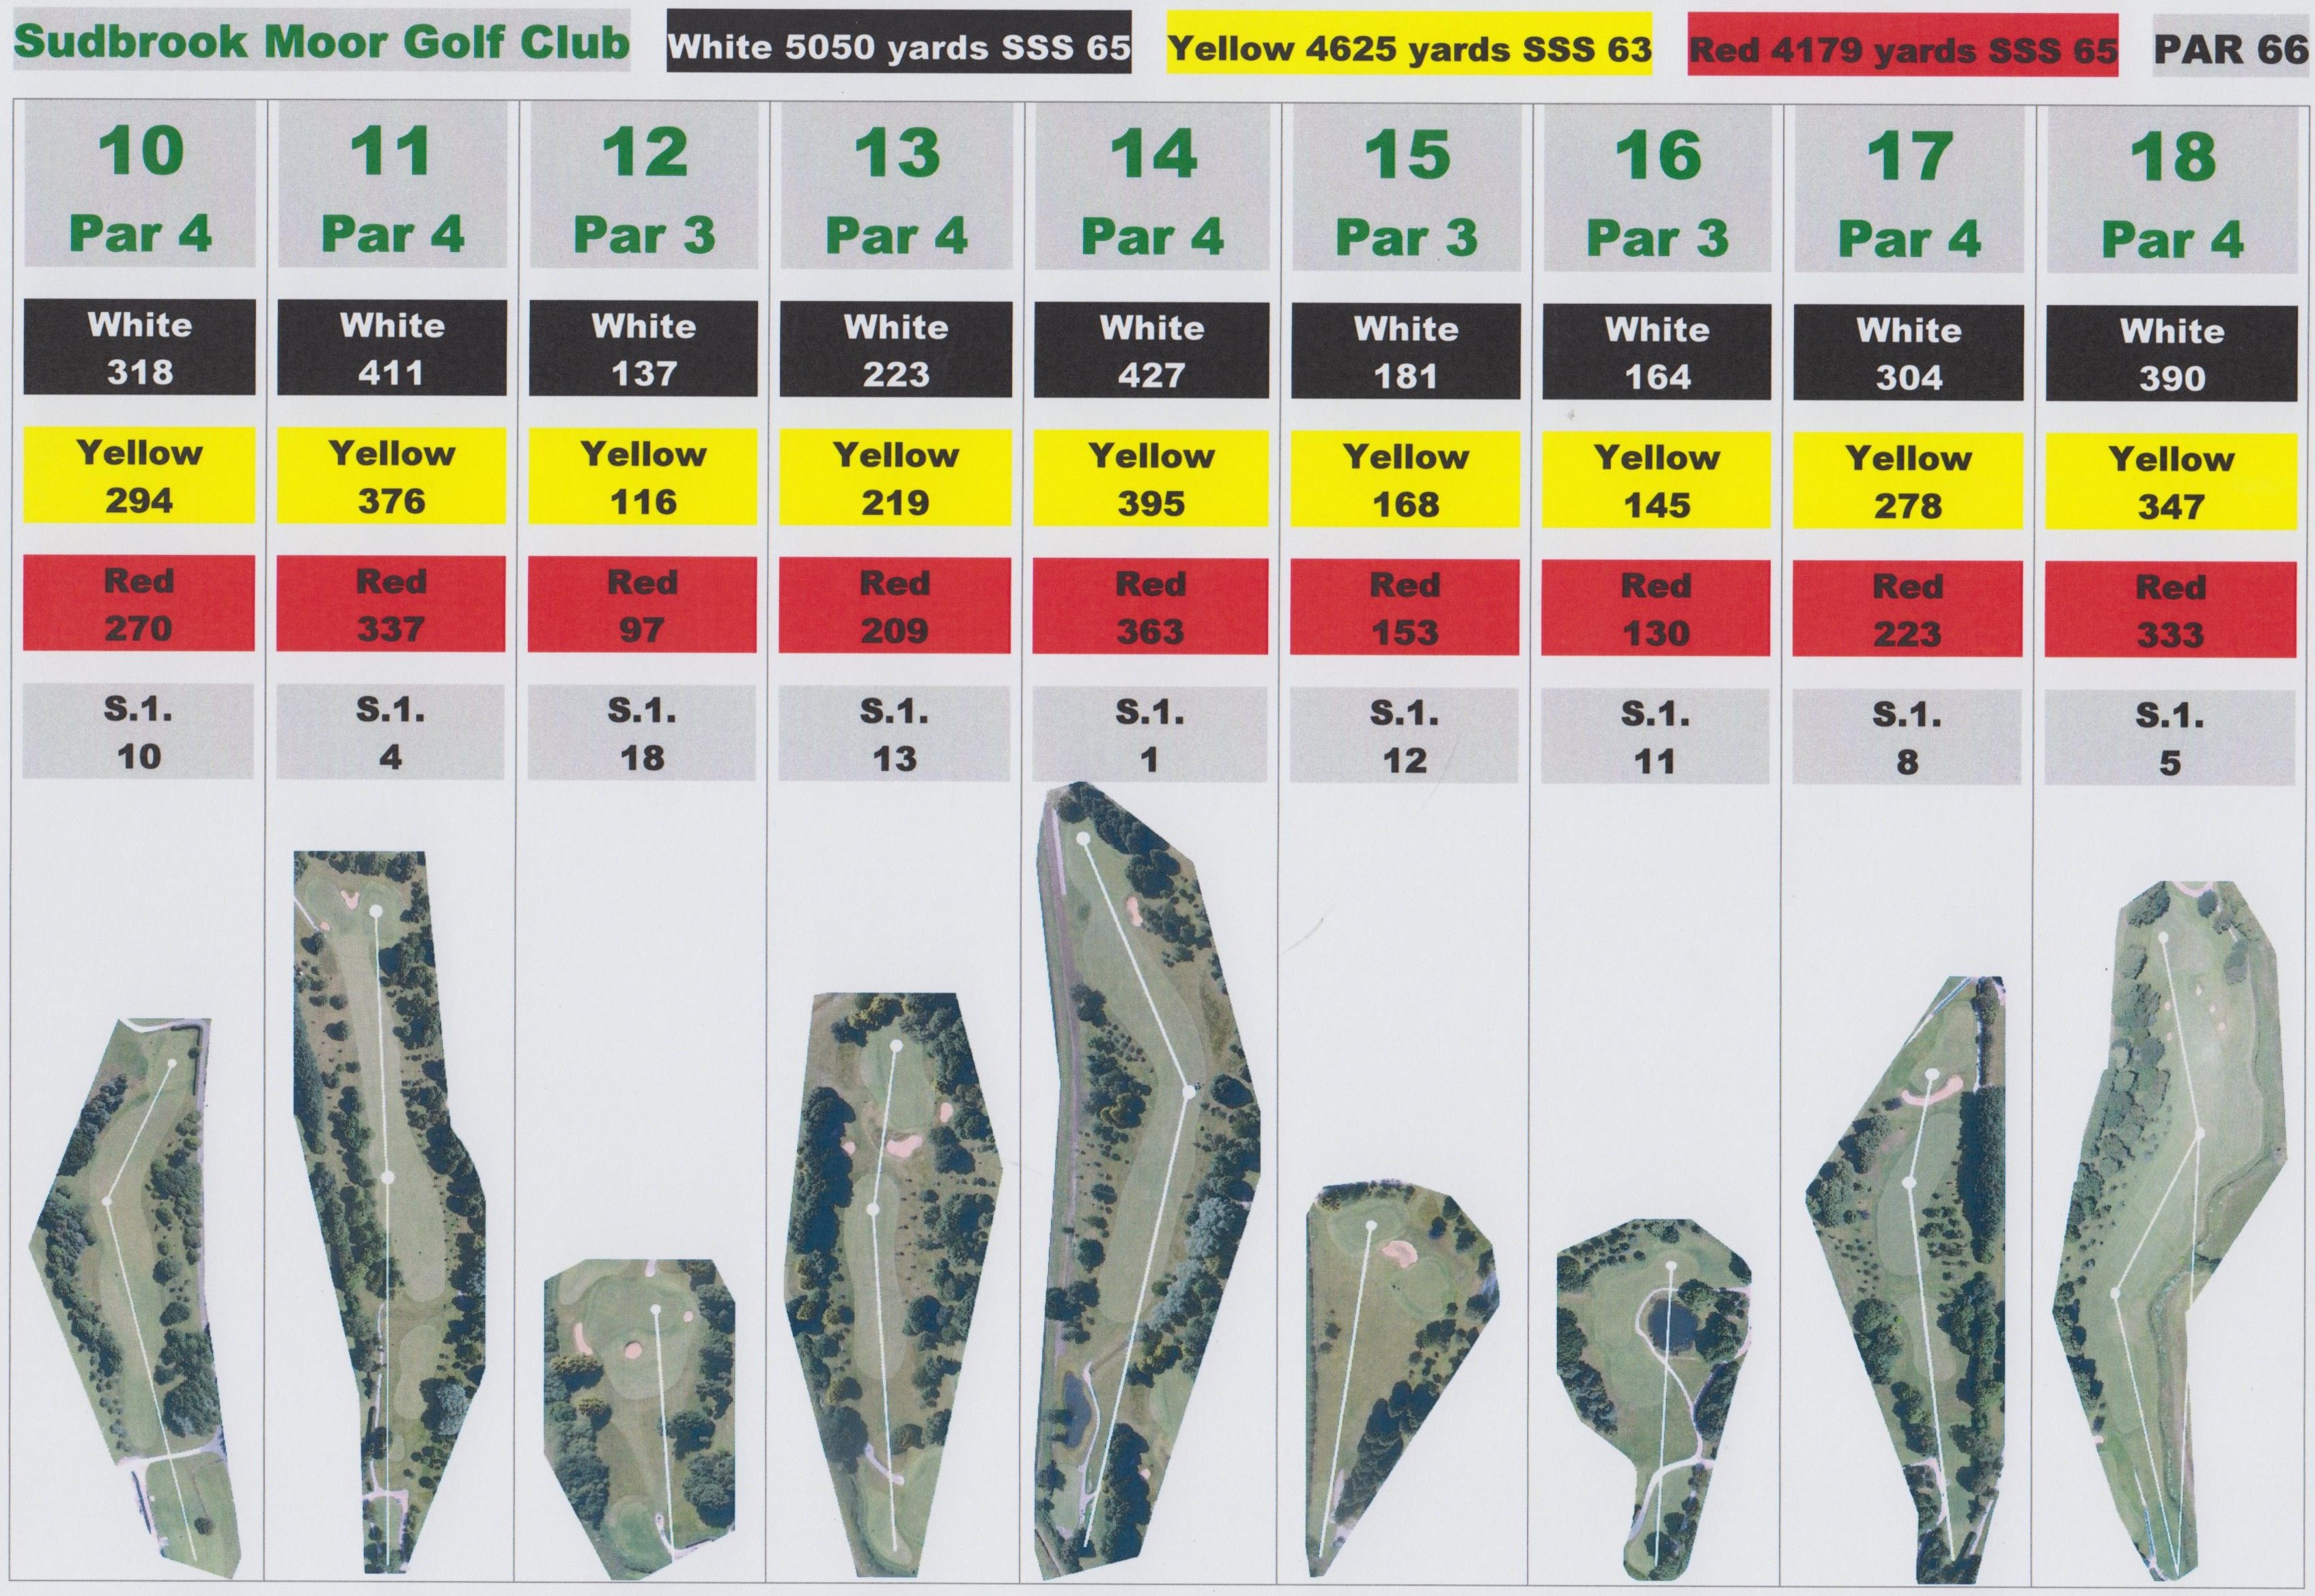
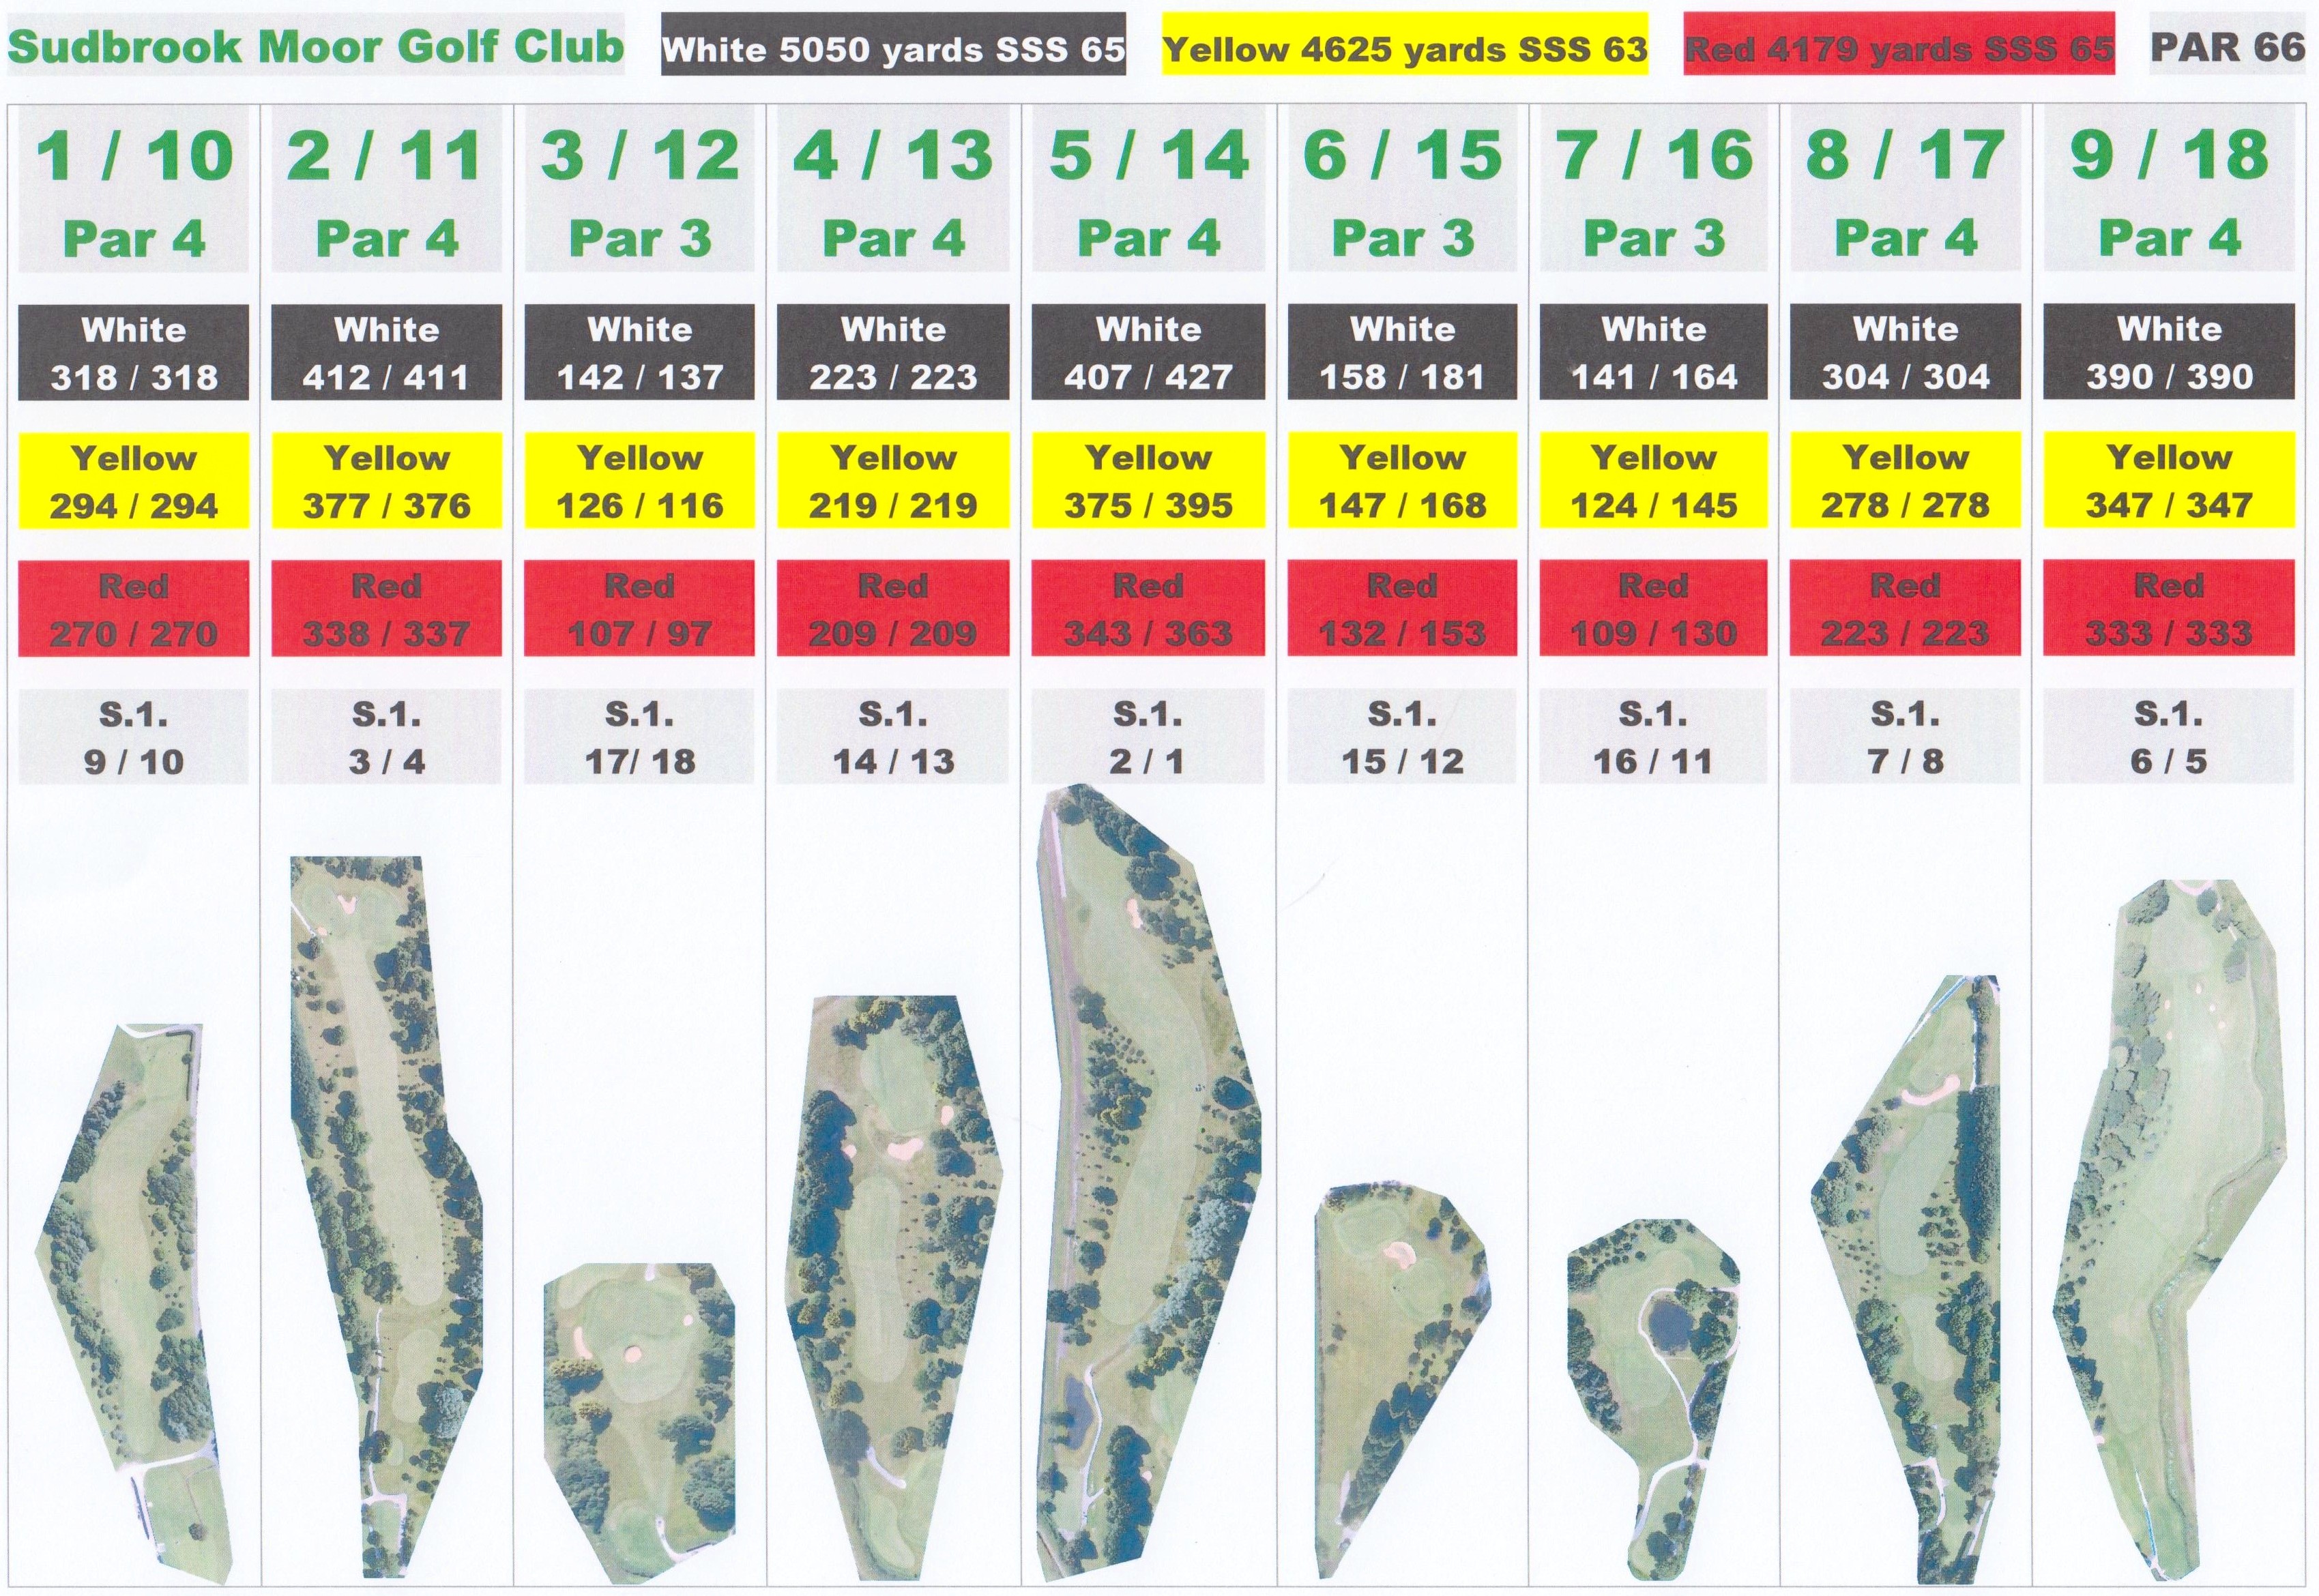
Hole by Hole
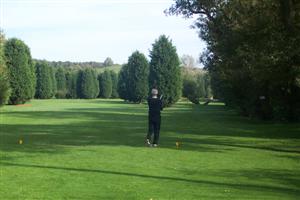
Wide grass tees on each hole give plenty of room for varying tee marker positions. This also minimises wear on the tees, which in turn allows the use of grass tees for most of the year.
Although the fairways on the first and second 9 holes are shared, there are 13 seperate Greens and 5 shared Greens giving a varied playing experience and an 18 hole experience.
The Course has 3 Par 3's and 6 Par 4's.
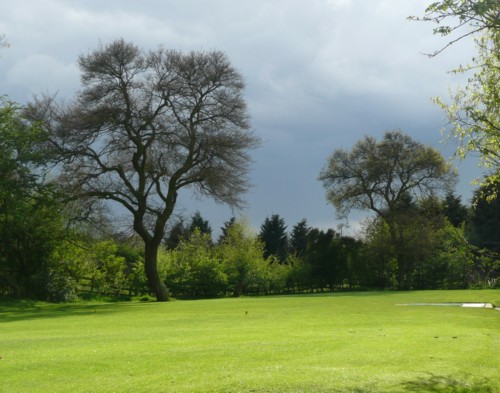
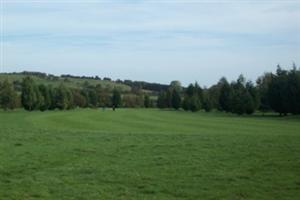
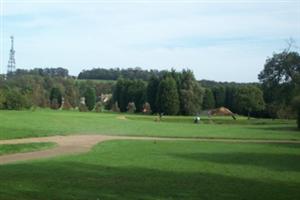
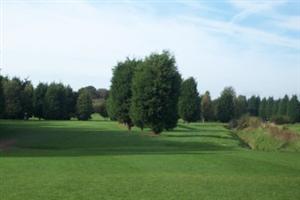
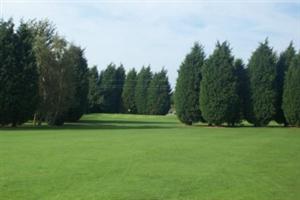
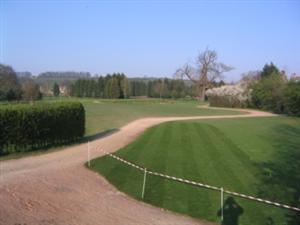
1st and 10th FairwayDriving from the first tee to the crest of the hill is the safest route to the Green which cannot be seen from the Tee. Too far to the left and Out of Bounds, trees or a hedge are hazards impeding a shot to the Green. Too far right and again you can be Out of Bounds, the Green cannot be seen, and your shot is impeded by trees and deep rough |
 |
1st and 10th GreenThe Green is approached down a slope and requires care to ensure the ball does not run to far down the Green. This is a Par 4 hole that is difficult to achieve without accurate shots. |
 |
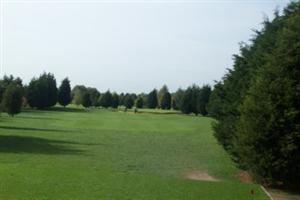
2nd and 11th FairwayThis is a dog leg left over a stream that is dry most of the year. Too far left and you are into the trees and long grass. Too far right and you are into the stream, or behind trees impeding your second shot. The middle of the Fairway is obviously the best shot for a direct 2nd shot to the Green. |
 |
2nd GreenThe 2nd Green is guarded by Bunkers to the left and right but can be reached in 2 from an accurate 2nd shot. 11th Green The 11th Green is off to the right of the Fairway and is best reached directly by placing your Tee shot to the left of the Farway. |
  |
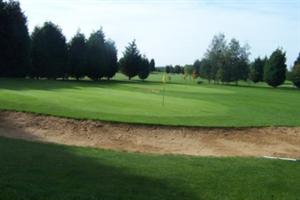
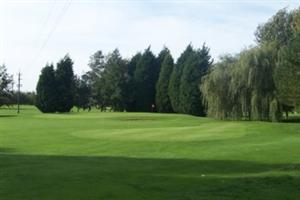
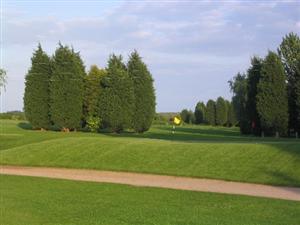
3rd and 12thA short Par 3 and possibly the best chance to make a Birdie or Par on the course.
The shortest holes on the Course these two holes are protected by Bunkers that catch many Golfers, particularly in cross winds.
Watch out for the Out of Bounds Left on this hole. |
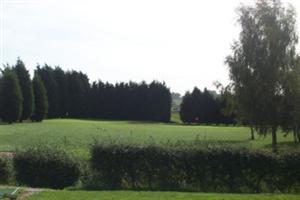 |
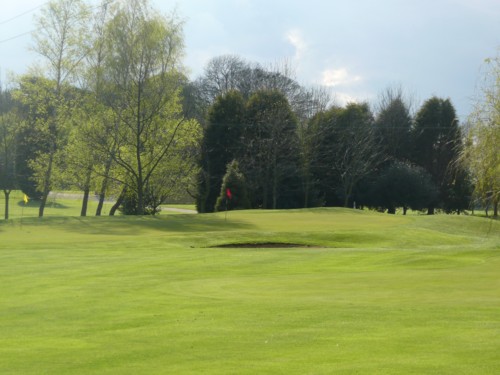
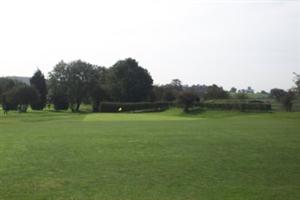
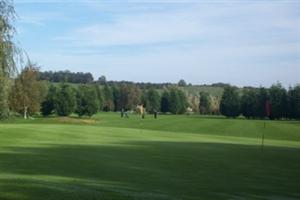
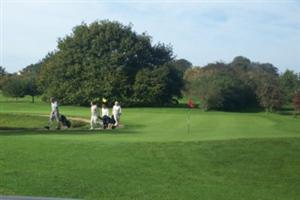
3rd and 12th GreensView across the Greens from beside the 3rd Green. |
 |
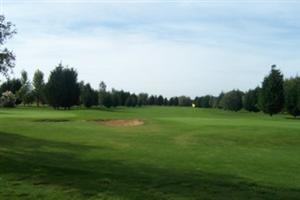
4th and 13th GreenLong drive exponents can reach this Green in one, but more often than not the Bunkers across the front of the Green, Left and Right catch out those who try.
Laying up is a safe option that gives the chance to put the 2nd shot on the Green and the chance of a Birdie. The 13th hole is generally at the back of the Green that also contains the 4th Pin. Care is needed not to chip over the back of the Green where Trees and Bushes could make the ball Unplayable. Alternatively you do not want to chip into the Bunker guarding the front of the Green. |
 |
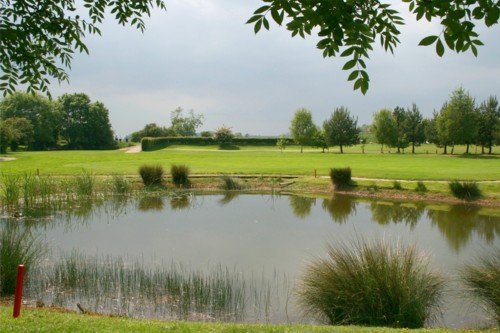
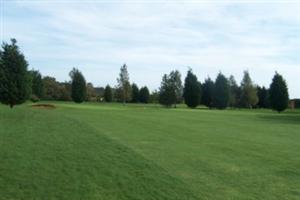
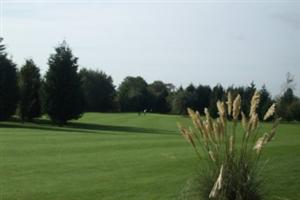
5th and 14th FairwayDriving from this Tee you will find it difficult to reach an ideal position on the Fairway that will give a clear shot to the Green. You will drive over a pond, with out-of-bounds left and threatening trees on the right both of which can catch out wayward shots. |
  |
5th and 14th GreenThe Green is protected by a Bunker on the front right edge, out-of-bounds left and trees at the back, out of bounds also long right. This a long par 4 particularly on a windy day. |
 |
6th and 15th FairwayA deceptive par 3 hole this one. Out-of-bounds left, trees and a pond to the right and a bunker protecting both Greens this hole catches many a wayward shot. |
 |
6th and 15th GreenThe 6th green is flat and true while the 15th Green is sloping and difficult to putt out in par. |
 |
7th and 16th FairwayThis is a Par 3 from the same Tee Box but each Green you aim at is completely different.
The 6th is straight forward but beware water to the right and the oak tree to the left. The 16th green is over water and requires an accurate shot to avoid the water or going over the back of the Green and Out of Bounds into the Practise Range. |
 |
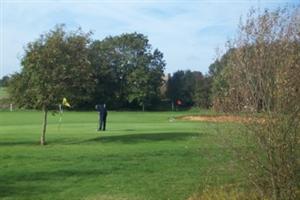
The 7th GreenThe Putting Surface is slightly sloping but true.
The16th Green, Having avoided the water hazard and out-of bounds at the back you are faced with a sloping Green to finish this hole. A difficult Par 3. |
 |
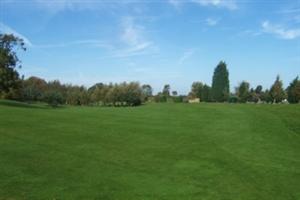
8th and 17th FairwayYou can't see the Green from this Tee Box so you have two options:
Go over the trees or go round the dog-leg right. Either way there are hazards to catch you out with a full width Bunker across the front of the Green and trees to the left and back |
 |
8th and 17th GreenThe 8th Green is on a flatter area of the Green and gives a true putt while the 17th hole is on a slope and more difficult to judge. |
 |
9th and 18th FairwayTwo options - A difficult Tee shot to clear the stream that cuts across the course or a simpler shot round the dog-leg right. Both options provide challenging 2nd shots that bring into play trees to the left, a stream to the right and Bunkers guarding the Green |
 |
9th / 18th GreenSome times both the 9th and 18th pins are on the same Green while at other times the 9th pin is on a seperate Green to the right of the Fairway. The 18th Green is guarded by Bunkers to the left and right and is easy to chip over the back of the Green where again you'll find Out of Bounds. The Green is sloping front to back so anything pitched short of the pin will leave an uphill putt. |
 |
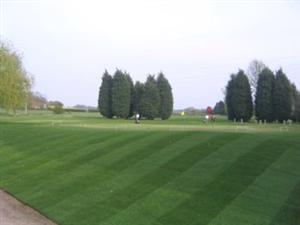
9th / 18th GreenYou approach the 9th Green over tall conifers to a Green that cannot be seen from the tee or usually the position of your second shot. The Green is small and requires accuracy to land on the Green. |
 |
|
 |
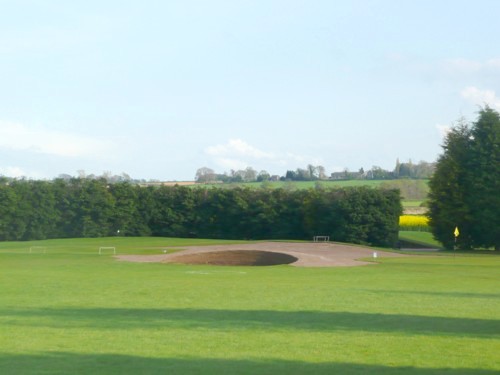
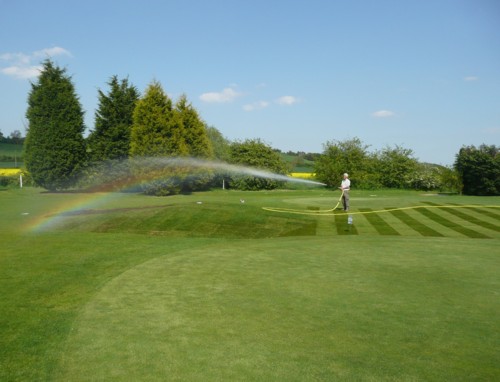
Watering in the Summer:An example of how Sudbrook Moor remains Green and Colourful all year can be seen to the right.
Despite limited GreenStaff we work hard to ensure our course is of High-Standard all year round. |
 |
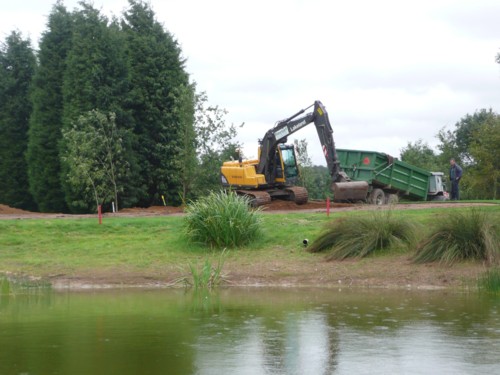
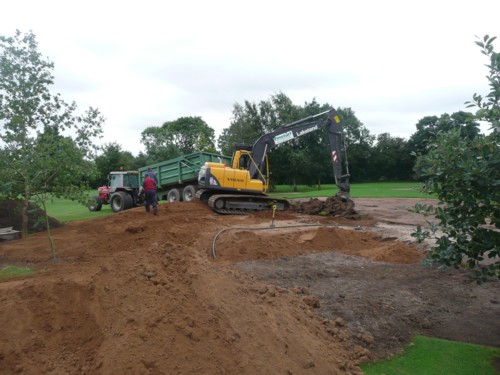
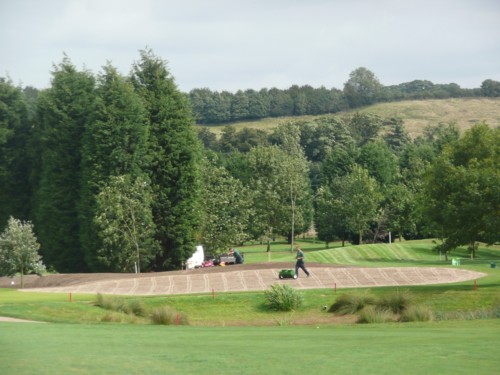
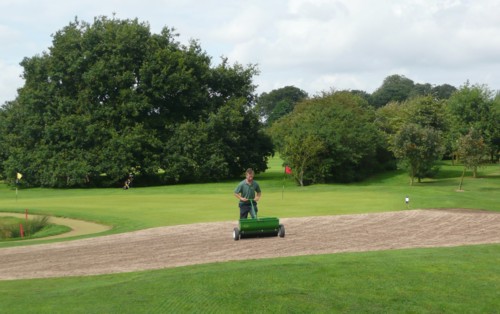
New Construction Work:We do all our own course modifications and changes. The Photos right show some of the projects we did in 2007.
Inserting a New Bunker on the 4th Hole.
Extending the 7th Tee Box.
Extending the 9th Green and removing the Conifers that provided too much shelter. |
   |
Aerial Photos of Course:In the late Autumn we were fortunate to have our former shop manager, Mick Blankley fly over the course during a Hot Air Balloon Pleasure Flight.
He took some aerial photos of the Course and Facilities which can be seen on the right. |
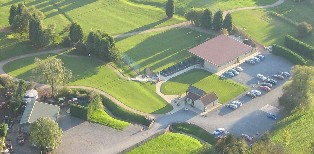 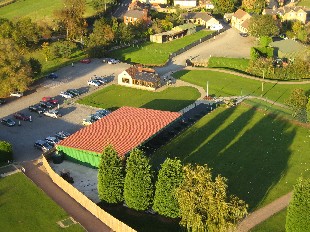 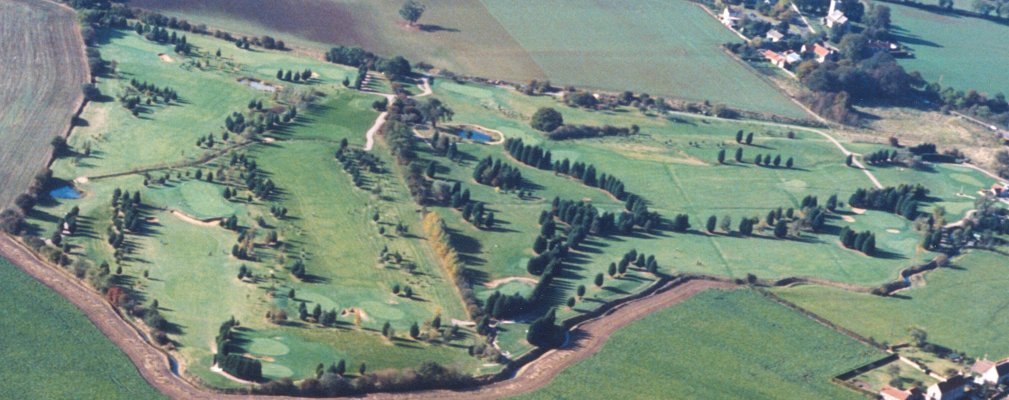 Aeriel Photo taken 2000 |